
How I Backup My Substack
My full tech stack and SEO friendly approach to backing up my publication and subscribers.


Hey Friends, in this article, I’m going to share how I backed up my Substack publication to my personal website at substack.mmacfadden.com. Things get pretty technical, but I try my best to explain the what and the why behind my process. Let’s get started.
A Hard Lesson
A bit ago, I read that Lucy Warner of the Substack publication Hype Yourself inadvertently vanished everything she’d built on the platform. Every article and all 13,000 of her subscribers, gone in an instant.
It made me realize I had no contingency plan for if that were to happen to me, so I decided to do something about it.
Exporting
One of the great parts about Substack is the relationship you have with your content and your subscribers. You own it all. At any point, you can pick up, take it all with you, and leave. Substack has built-in tools to make it easy to do so as well.
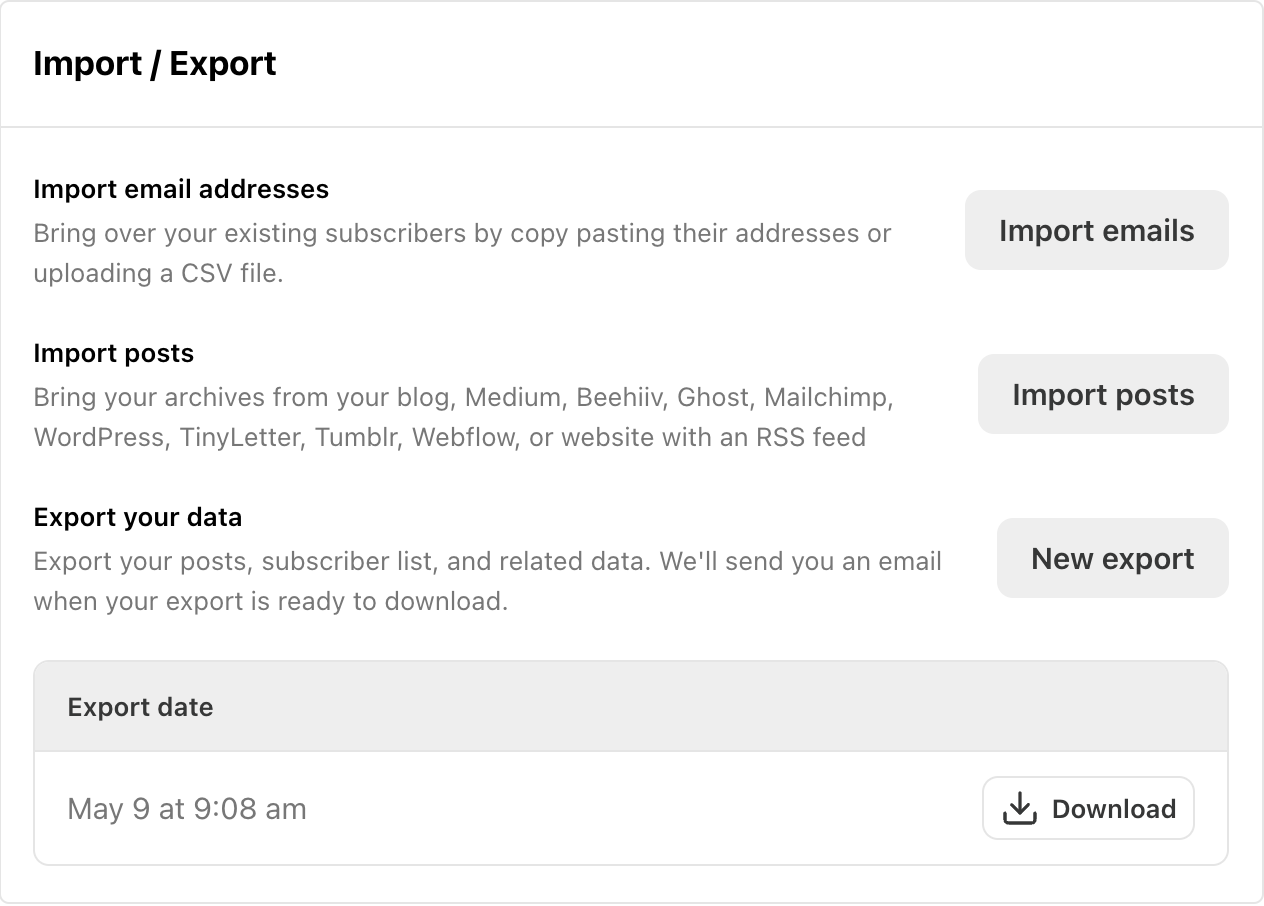
Under your publications Settings, scroll down to import/export, and you’ll see a window much like the one below. Click the New export button, and in a few minutes, Substack will generate a download for you that will be available in the Export date section below.
Just click Download once it’s ready.
The Download
Substack will generate a zipped file for you. Once you extract it, you’ll find it contains a handful of CSV and HTML files. One of the CSV files contains all of your subscribers. I keep that backed up to Google Drive just in case I decide to move platforms someday (or I too vanish my publication).
If you dig a little deeper and open the HTML files, you might think that you have everything, albeit without proper styling, but you’d be wrong.
The export doesn’t contain ANY media assets whatsoever.
The images displayed in the HTML are linked to Substack’s servers (well, technically Amazon’s, but I digress). What you have in the export is text only. If you delete your publication, intentionally or not, those image links will break and be gone forever.
One other thing: Substack handles mentions (like this one here: Michael Macfadden) in a weird way. If you’ve ever copied your text from the Substack editor into any other text editor, you may have noticed that the mention didn’t come with it. Under the hood, mentions look like this:
<span class="mention-wrap" data-attrs="{"name":"Francis Chouquet","id":16944057,"type":"user","url":null,"photo_url":"https://bucketeer-e05bbc84-baa3-437e-9518-adb32be77984.s3.amazonaws.com/public/images/5bdba893-26bf-4a6e-9f15-e4f2d560896a_400x400.jpeg","uuid":"cabb3c92-349f-4e9c-878d-d42983873601"}" data-component-name="MentionToDOM"></span>This code lets Substack implement their cool tooltip hover effect thing, but everywhere else, it just breaks, meaning nothing will be displayed where a mention once was (more on this later).
The Easy Way
If you’re looking for a free and easy, though incomplete, solution, all you need to do is:
Export your data from Substack (see above)
Import it into a free WordPress.com blog
Boom, you’re done
There are countless tutorials online about how to do this, so I won’t go into any further detail.
However, if you take this approach, I would not publish any of the posts. Having duplicate content on the web without canonical URLs can negatively impact your SEO, and there’s no way to set canonical URLs on WordPress.com for free.
WordPress will copy all media assets into your new WordPress media library, though, so you will now have a backup of all your text (except for mentions) and your media.
The Hard (Though More Complete) Way
WordPress actually comes in two flavors: WordPress.com, which is software as a service similar to Wix or Squarespace, and WordPress.org, which is a self-hosted, open-source version of the content management software. I use the latter.
Self-hosted WordPress is typically hosted using a shared hosting service like Bluehost, HostGator, or WP Engine, but those all cost money. To keep things free, I run WordPress locally on my machine using LocalWP. This software lets me spin up a fresh WordPress installation that works only on my computer in a virtual server.
You could do the same with XAMPP, and a handful of other tools, but I’ve found LocalWP to be the most user-friendly.
This gives me full access to WordPress.
Importing
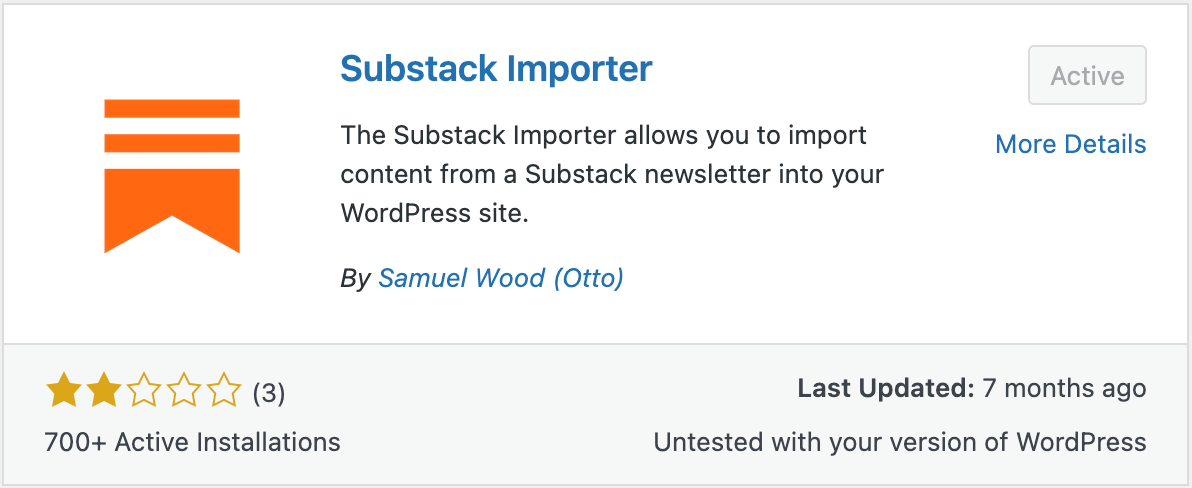
To get my export into WordPress, I first had to activate two plugins:

In the admin dashboard, visit Tools > Import > Run Importer. The onscreen directions are pretty straightforward. It’ll ask you to include the link to your current Substack, so it knows where to pull the media assets from:

When you click upload file and import, it’ll run through its processes, which it warns can take a while.
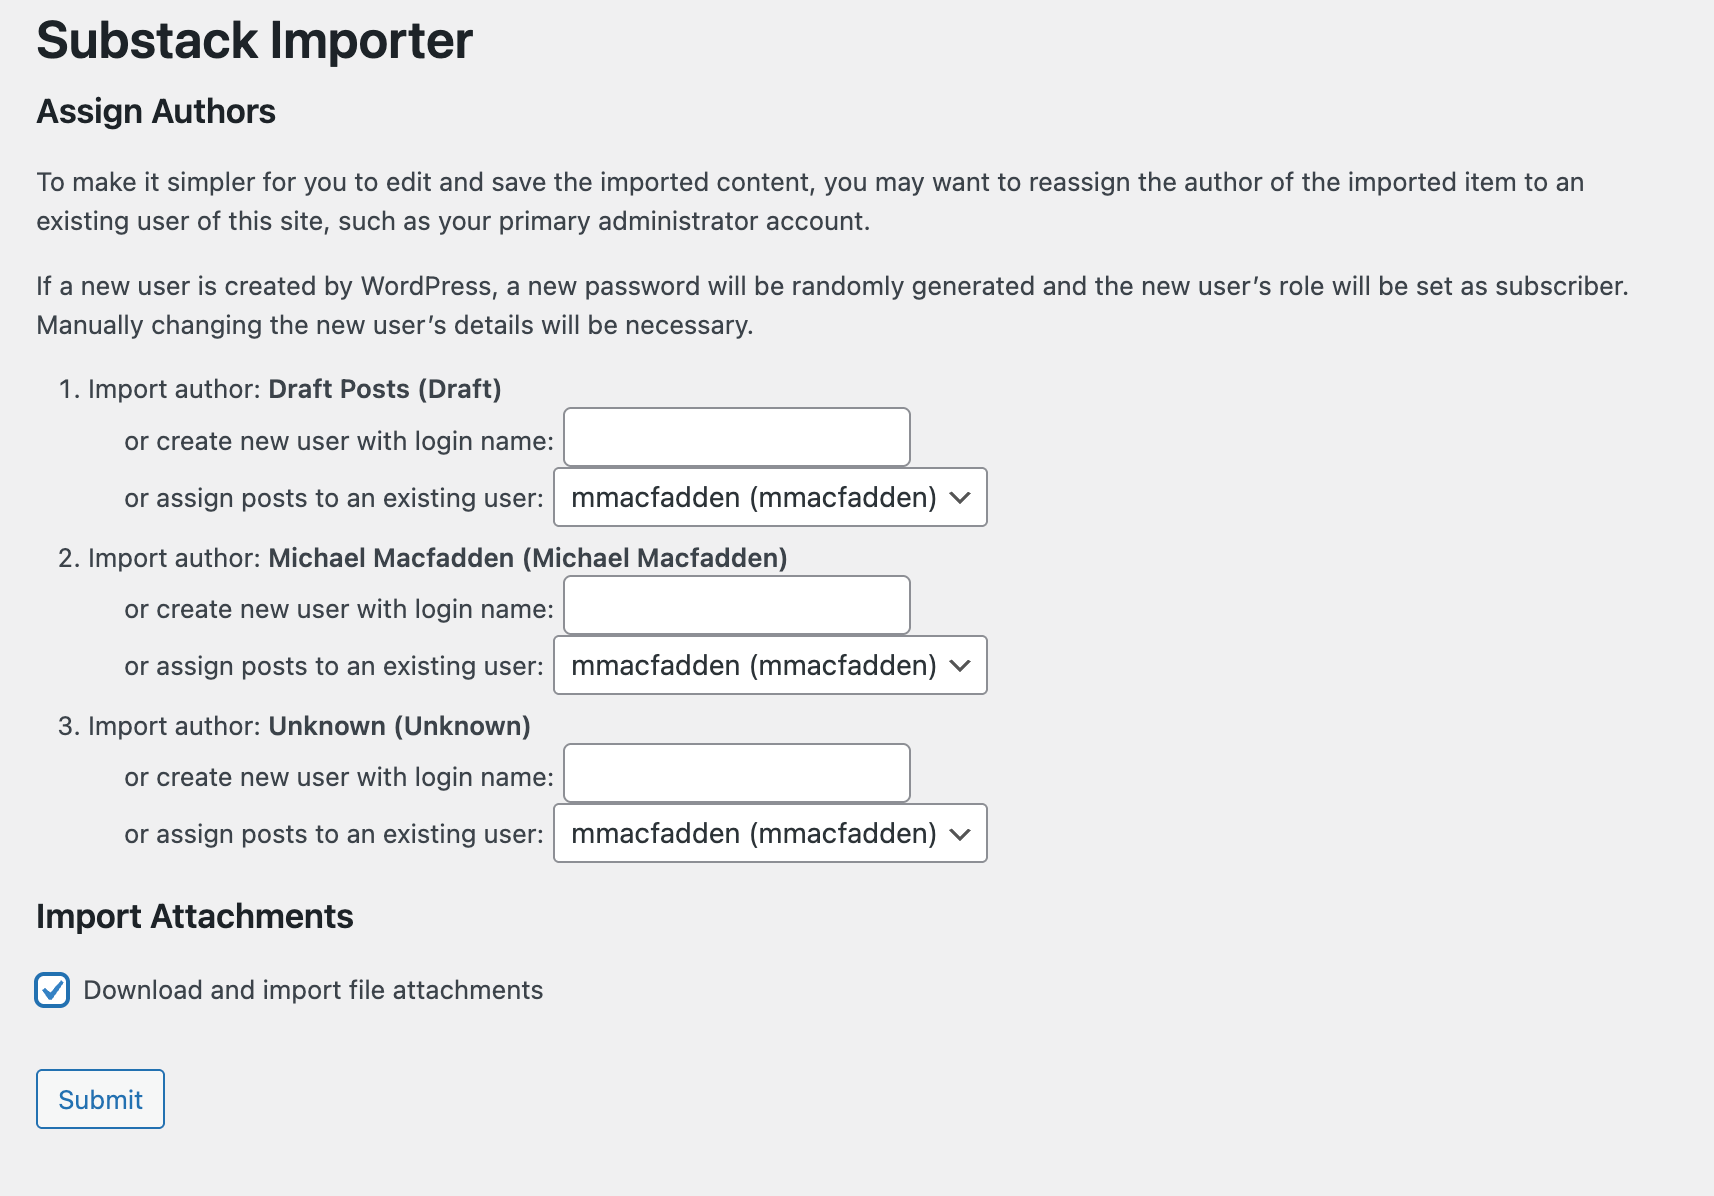
It’ll then ask you to assign authorship accordingly and give you the option to Download and import file attachments. Be sure to check this box to obtain your media assets.
You’ll run this process every time you back up your Substack. WordPress will not import duplicate content, so no worries there.
Congrats! Your content is now backed up, though it probably looks like crap, mentions are still broken, and if your computer dies, so too does your backup.
Make It Look Nice
If you’re new to WordPress, their templates are called themes. There’s no theme that looks exactly like Substack, but there are many that are close. Also, we’re not trying to emulate Substack entirely here. We’re just trying to backup our content and have it formatted similarly.
The Twenty Twenty-Three theme is the one I went with. It’s pretty minimal, arranges articles in rows and columns across the homepage, and has a featured image similar to the thumbnail that Substack uses. It’s not perfect, but it’s close.
Technically, I am using a Twenty Twenty-Three child theme, which means I’ve made some customizations on top of the parent theme. You can download it here if you’d like:
One of the things that this child theme does is set the featured image automatically using the first image in the post (something the parent theme does not do on its own). If you use the parent theme, you’ll have to set the featured image manually for every post. You can override the automatically selected one if you’d like.
Various Settings
WordPress is infinitely configurable, so there are a few things I did to dial in the view. This theme allows you to choose things like font and accent color. I set mine to the same as my Substack by going to Appearance > Themes > Customize > Styles on the admin side.
I also removed various blocks from the homepage and post templates that I didn’t want, like comments and footer attributions. This, too, can be accomplished by clicking edit site on the front end.
Under Settings > Reading, I made my homepage display my latest posts instead of a static page. I also changed the number of posts to display to 36.
It’s easy to get lost setting up WordPress, but there exists a huge and active user base online. Googling your question often yields a spot-on fix.
As for Mentions
Remember how I told you that mentions don’t work outside of Substack? With the help of ChatGPT, I made a custom plugin that renders the text properly. The hover effect doesn’t work, but it appears in bold and prepends the text with an @ sign.
You can download and install the plugin here:
SEO Considerations
Since duplicate content can penalize your SEO rankings, I wanted to be able to provide a canonical URL to the original of each post. Again, with the help of ChatGPT, I made a custom plugin that lets you add those URLs in the quick edit mode. See the image below.

You can also do this when editing a single post, but this way is much faster, especially if you have lots of posts to update.
You can download that plugin here:
Get it Online
Since WordPress requires server-side processing, you can’t just throw a WordPress site onto free hosting resources like GitHub Pages, but you can export your dynamic WordPress site into static HTML using another WordPress plugin called Simply Static.
The free tier exports your site as raw HTML, maintains your styling, and includes ALL media files.
To run it, visit the Simply Static section in the admin side of WordPress and click Generate as in the image below:

Once it’s done, click the Click here to download link and upload the contents to a new repository on GitHub. You can then publish the repository to GitHub Pages in Settings > Pages > Branch > Change None to Main. Wait two minutes, hit refresh, and a public link will appear.

In the same section of GitHub, you can set the URL to a custom domain if you please. My backup is available here, for example:
And there you have it! An SEO Friendly backup of your Substack.
TLDR
Here’s a brief summary to recap everything I did to backup and publish my Substack:
Export from Substack
Spin up a WordPress instance in LocalWP
Install Twenty Twenty-Three Child Theme
Install and activate the following plugins
WordPress Importer
Substack Importer
Canonical URL
Substack Mentions
Simply Static
Import into WordPress
Dial in theme settings
Add canonical URLs
Double-check Featured images and set as needed
Generate a static site with Simply Static
Create a new repository in GitHub
Upload the static site to the repository
Publish to GitHub Pages
Set custom domain (optional)
If You Liked This
I wrote another comprehensive article outlining how I display my most recent Substack posts on my personal website. Preview it here: mmacfadden.com. Then read the article below:

Final Words
If this was at all helpful, please consider subscribing and leave a link to your backup in the comments section.
Thanks,
Mike
This is great. First, for the intention for backing up. Second, for giving so much detail which helps people like me that don't have this deep layer of knowledge regarding DB and backups. And finally, for keeping yourself open to comments.
Congrats for this and contributing to our ownership!
Thank you for this post — I happened to be thinking of backing up my essays in the Substack newsletter onto the personal WP-based website, mostly for fear of losing the writing that’s meaningful to me, so this clear instruction is very helpful.
I didn’t quite get the canonical links step though, likely because I am irrationally terrified of SEO. Should I prioritise the Substack posts over the backups on my site as long as I continue to work on Substack? i.e. should the canonical links point to Substack as the real deal? Or is it better to prioritise the personal website so that it doesn’t get penalised by search engines?
Or maybe I should copy the content onto the site but just keep it unpublished for the time being?